

-photo boxes (try different sizes if you're feeling kinda crazy)
-nails
-mini utility hooks - you can buy these at any hardware store
-decoration for the boxes, which can be anything from feathers, to pictures of your grandma, to the marble print shelf liner I chose...
-hammer
-ruler, but only if you're a measuring snob
Okay so lets get this thing done. You're gonna start by placing the boxes against the wall and seeing where the arrangement works best. Do you want symmetry? Do you want a bit of avant garde in your design? Do you want to be ironic? Even a haphazard look takes planning. Figure that out before you make a mistake, because you can't go back in time, amigo. Well, you can, but you'll have holes in your walls and the final product won't look as clean.

Next, you're gonna grab two nails, and nail the boxes to the wall. In the picture above, obviously the boxes aren't possessed but are already nailed on. This is how the hammer should look when it's hitting the nail..

So then you're gonna grab your utility hooks, but not these ones because these are from the year 2050 and were therefore very difficult to obtain.

And this is the part where you ask yourself what kind of person you are: the kind that likes to measure everything and have the hooks look perfectly aligned, or the kind of person who would rather use that time to eat an entire rotisserie chicken? If you answered the former, use your ruler to measure out equal distances to screw in your hooks. Then, applaud yourself. You are the wind beneath our wings. If you are just a regular person who wants a regular set of hooks, don't worry too much about it because it'll be covered by a lid anyway, ya turkey! Either way, it might help to take out some more nails and nail tiny holes before screwing in the hooks, if it's too hard to just screw them into the wall right off the bat.
Tip: think about what you want to hang there, how long the jewelry will be, how bulky the jewelry is, and how many pieces you want to hang in each box. That should determine your hook spacing.
Here's how mine look. A little curvy but a) I did this while talking on the phone, so not too shabby and b) the curvy look is in right now..

Alright so the last part is the fun part, because it's the part where you get to decorate the boxes. Of course, if you're a minimalist, you should just leave the boxes bare. But otherwise, you could pick a solid color to paint them, adorn them with chalkboard paper or paint, cover them in rhinestones or broken twigs or photographs or slightly used cotton swabs. You could write on them, or string little twinkle lights around them. They're yours man, I don't know what you wanna do with them.
But if you want yours to look like mine, what you wanna do is find some shelf liner in a print you like and measure and cut it to fit the tops of the boxes.

Side note: Why do paper companies do this?
-"Hey, do you guys think they'll figure out what to do with the paper without us posting the redundant instructions in seventeen languages on the back?"
-"Trust me, they'll need those instructions much more than they'll need the measurements to cut the paper in a straight line."
GOZIE MOZNA.

After measuring it and cutting it God knows how, your covers should fit the tops flush, and your jewelry should be tucked away into the cozy little boxes..

 |
| You can also use the box for your rings.. |
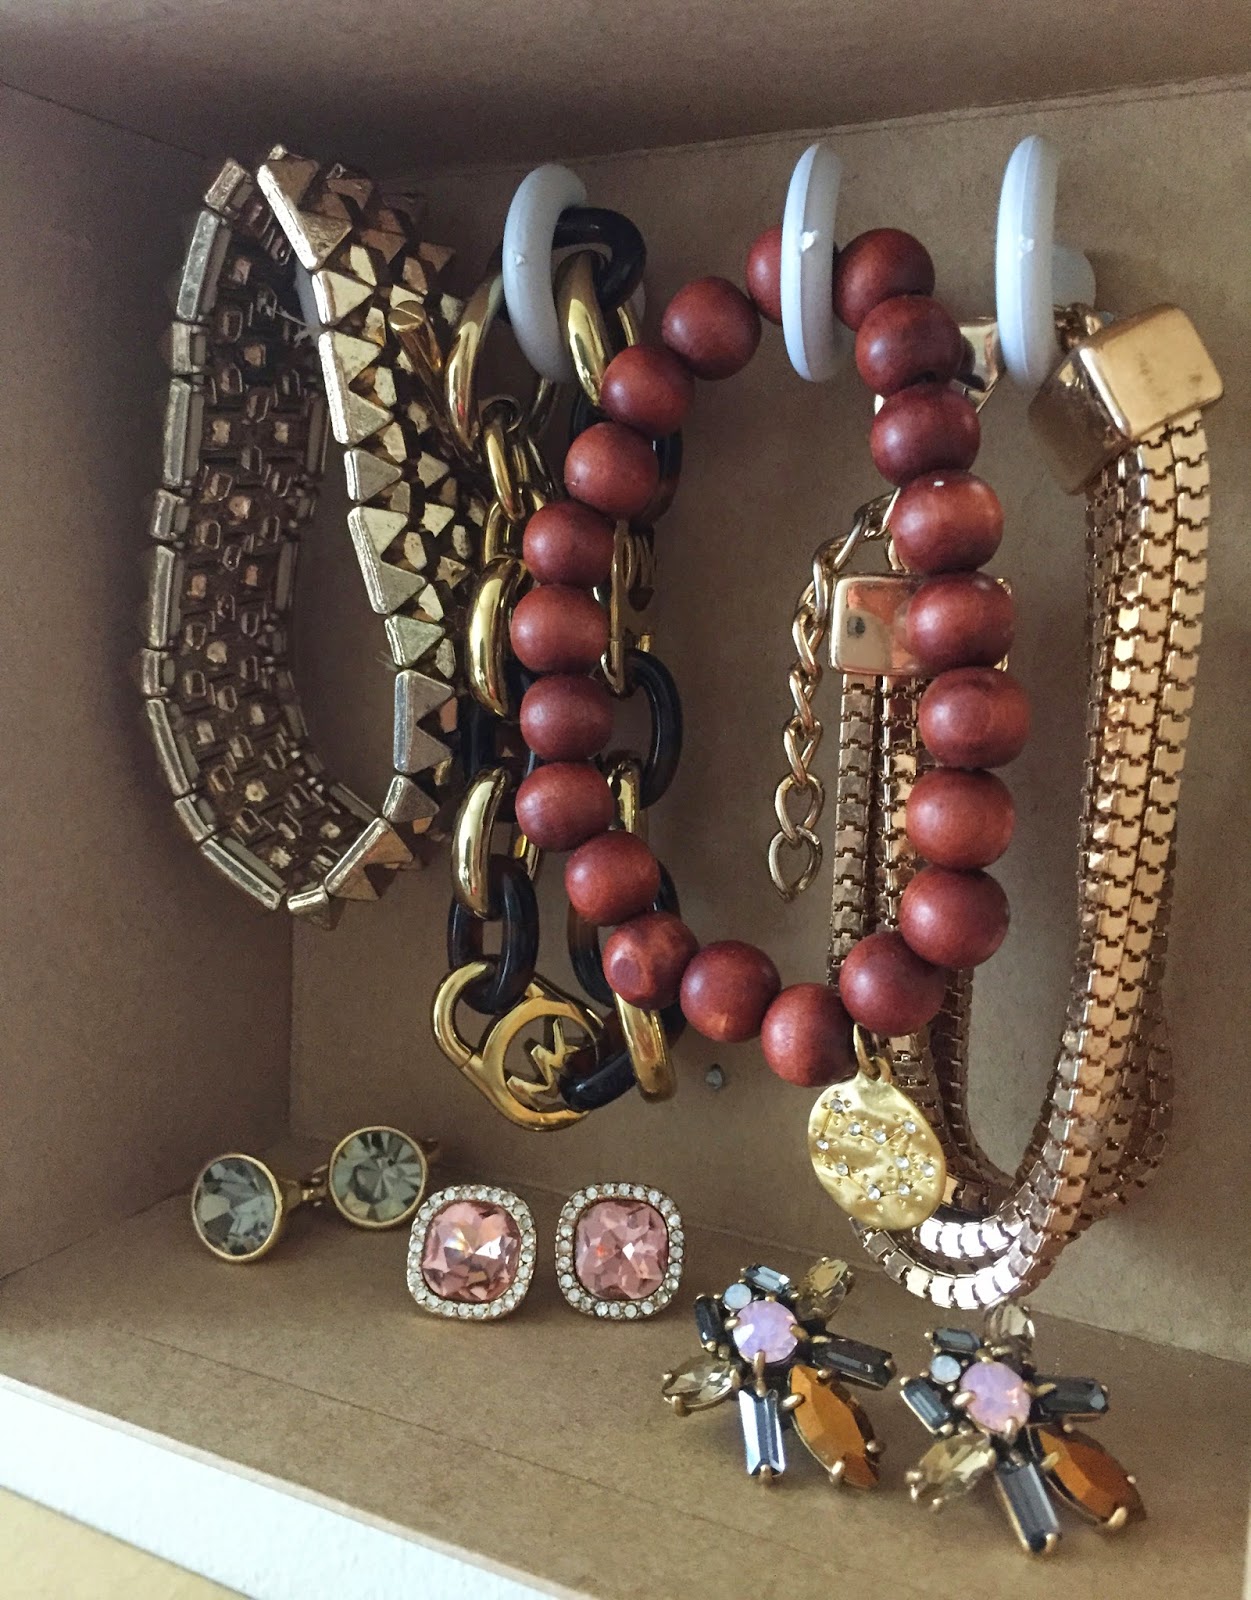 |
| ...and earrings! |
And when it's all closed, the look is clean, polished, and doesn't interfere with the color scheme of the rest of the room..

Now go eat that rotisserie chicken. You earned it.